If the door reverses before it reaches the floor, something is interrupting the photo-eye beam, or the opener believes it is. If it stops a few inches short, the down limit is set too high. If it grinds or hangs on one side, stop using it: that is a track, roller or cable problem, and cycling the opener makes it worse.
Everything below assumes one thing: you are standing in the garage, not lying under the door. If the door is crooked, a cable looks slack or frayed, or you heard a bang before it stopped working, skip to the safety section and call us. The rest of this guide is for doors that are mechanically sound but will not complete a close.
Why won't my garage door close? Two reasons, every time
A modern opener will refuse to close for two reasons. Either it cannot see a clear path, or it believes the door has already reached the bottom. Almost every symptom below is one of those two, wearing a different costume.
That behaviour is not a quirk of your brand. In the US, residential operators manufactured for sale on or after 1 January 1993 have had to include inherent entrapment protection plus a second device — in practice, the photo-eye pair at the bottom of the tracks. That rule is 16 CFR Part 1211, which adopts UL 325, and it requires a closing door to reverse within two seconds of contact with an obstruction. Openers sold in Canada are built to ANSI/CAN/UL 325, the binational version of the same standard, so the behaviour here is identical.
A door that will not close is often the safety system working exactly as designed. That is the single most useful thing to understand before you touch anything.
Start here: can you fix it in 60 seconds?
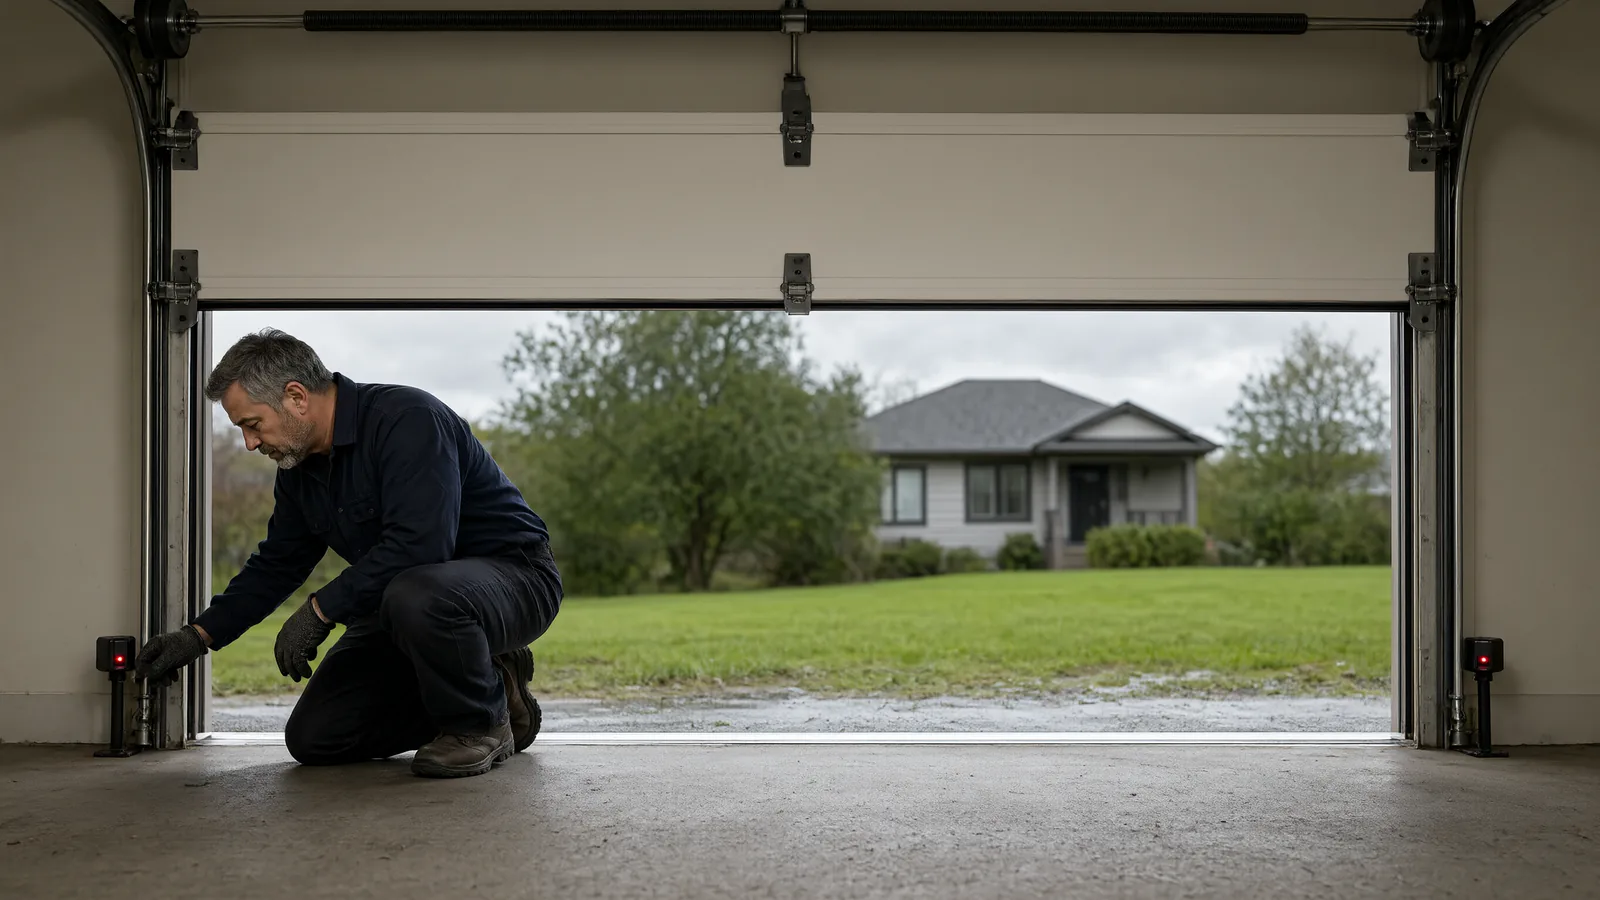
Look at the two small sensors at the bottom of the door tracks, one on each side, roughly at ankle height. Each has an indicator light.
- Both lights solid, door still reverses: the beam is being interrupted by something else, or the opener is misreading the limit. Move to causes 2, 3 and 4.
- One light off, flickering or amber: that sensor is blocked, out of alignment, unplugged or failing. That is cause 1.
- Door runs but the door itself does not move: the trolley is disconnected. That is cause 6.
- Nothing happens at all, no light, no sound: power, wall control lock or a dead opener. That is causes 6 and 7.
One warning before you start: do not stand in the doorway to test the door, and do not let a child or pet stay under it while you cycle it. Use the wall control, not the remote, so you are already in sight of the door.
The seven causes, in the order we find them
1. Safety sensors blocked, knocked out of alignment, or disconnected
What you see: the door starts down, travels a few inches, then reverses to fully open. The opener light often flashes. One sensor LED is dark or amber.
Why it happens: the transmitter on one side fires an invisible beam across the opening to a receiver on the other. Anything in that line stops the close. In a working garage that is usually a recycling bin, a hockey stick, a bag of road salt or a parked bike. When nothing is in the way, the culprit is normally alignment: a bumped bracket, a loose wing nut, or a track that has shifted a few millimetres.
Try this: clear the opening, wipe both lenses with a dry cloth, then check that each sensor faces the other squarely. DASMA Technical Data Sheet 382 says photoelectric sensors must sit parallel to the floor and no higher than 15 cm (6 in). Mounting one higher breaks the UL 325 installation requirement, and it also lets a low object — a bike tyre, a crawling child — pass under the beam. If a lens is scratched or clouded, it needs replacing, not polishing.
Call us if: the lenses are clean and aligned and an LED is still dark. That is usually a failed sensor or a broken wire at the bracket, where vibration and moisture do the most damage.
2. Sunlight, condensation or a dirty lens confusing the beam
What you see: the door closes fine in the morning and fails every afternoon, or only fails on bright days and works at night.
Why it happens: low sun angles in late autumn and winter can wash out an infrared receiver, especially on a west or south-facing door. The Lower Mainland adds its own version of this problem: cold nights leave condensation on the lenses, and a wet lens scatters the beam the same way dirt does.
Try this: clean and dry the lenses, then shade the receiver side with a small piece of card for one test cycle. If the door closes with the shade in place, you have found it. A slightly repositioned bracket or a sun shield fixes most cases. Never solve it by taping over a sensor or taping the beam shut.
3. The down limit is set too high
What you see: the door stops two to six inches above the floor and the opener light blinks. It may also touch, then reverse immediately.
Why it happens: the opener has a programmed lower travel point. It drifts as the door settles, after a new bottom seal is fitted, after a door is replaced, or when someone adjusts it without checking the result. The opener thinks it has arrived, so it cuts power to the motor even though there is still a gap under the door.
Try this: this is an opener-specific adjustment, made with the up/down limit screws on older units or the travel module on newer LiftMaster and Chamberlain models. The goal is a door that compresses the bottom seal evenly across the whole opening without crushing it. If you have never set one, it is a five-minute job for a technician and an afternoon of guessing for everyone else.
Call us if: the limit keeps drifting after adjustment. That points to a door that is binding or a coupler or gear on its way out, not a setting problem.
4. Down force set too light, or a real obstruction in the path
What you see: the door touches the floor or an object, then rises again. The light flashes. On cold mornings it fails more often than in summer.
Why it happens: the opener measures resistance. Cold grease, a stiff roller, a seal frozen to the slab or a slightly bent track all add resistance that the opener reads as an obstruction. Somebody then turns the force up to compensate, which is how doors end up pressing hard on things they should never press on.
Try this: find the drag before touching the force setting. Disconnect the door with the red handle and lift it by hand — a balanced door should move with one hand and stay put halfway up. If it fights you, the problem is in the door, and raising the force will only hide it.
Call us if: the door is hard to move by hand, or the force setting was increased to make it close. The two-second reversal rule only protects someone if the force is set where the manufacturer intended.
5. Track damage, a jumped roller, or a failing cable
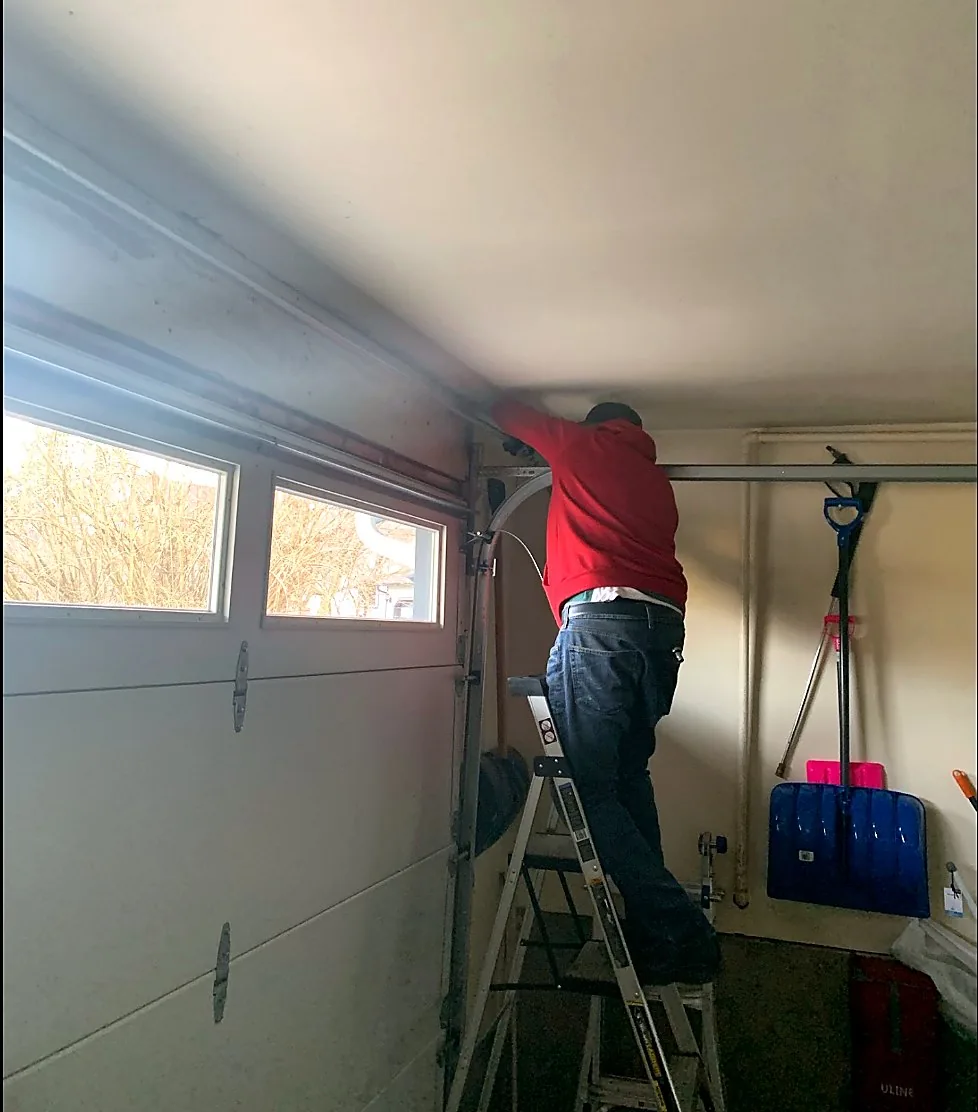
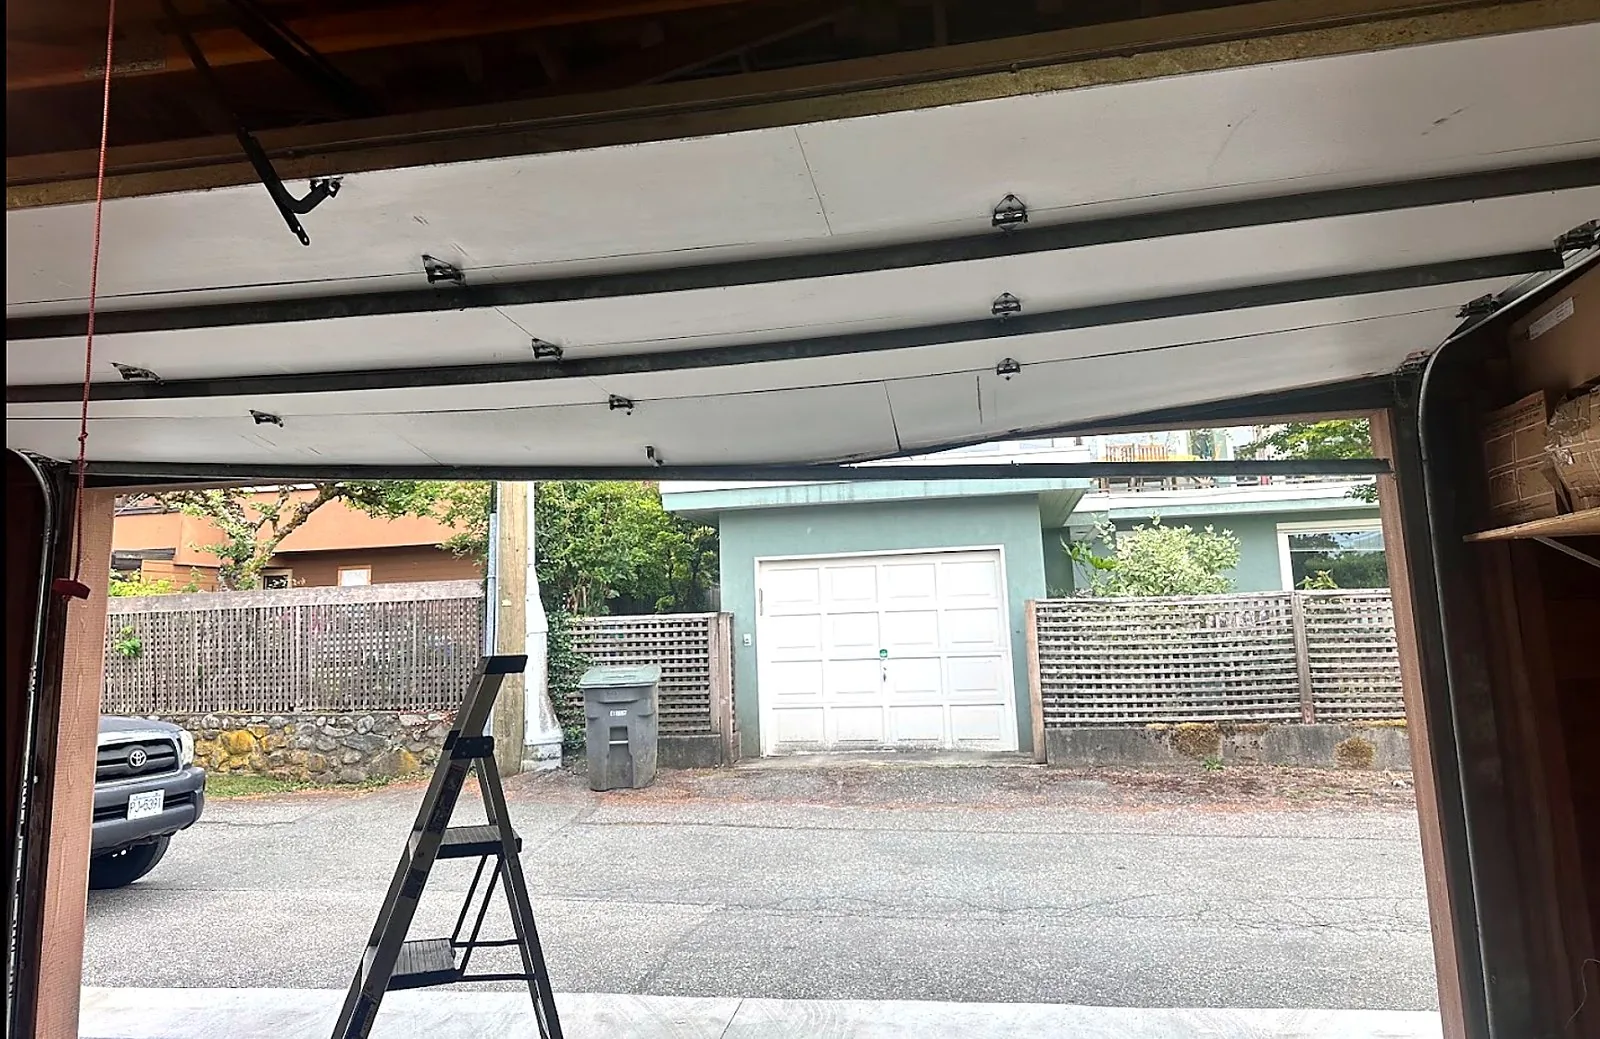
What you see: the door hangs crooked, scrapes on one side, or one corner lags. A roller may be sitting outside the track. Sometimes the door closes halfway and binds hard.
Why it happens: tracks take hits — a ladder, a bumper, a bike — and the screws that hold them loosen over time. Coastal humidity and road salt in the Lower Mainland are hard on rollers, hinges and bearings, so a door that ran quietly in July can bind by November. A cable that has jumped a drum will also pull one side of the door out of line.
Try this: stop cycling the door. Look along each vertical track for a visible kink, and check that no roller is outside the channel. Do not straighten a track with the door under tension and do not touch the cables — they are under load and a released cable can whip.
Call us if: anything is bent, a cable looks slack or frayed, or the door is crooked. A bent track can sometimes be straightened once; a jumped cable needs the tension taken off properly first.
6. The manual release is still engaged, or the wall control is locked
What you see: the opener motor runs and the trolley moves along the rail, but the door does not. Or the remotes and keypad do nothing while the wall button works, and the myQ app shows the door as locked.
Why it happens: the red manual release handle disconnects the door from the trolley so it can be moved by hand during a power failure. It is easy to pull and easy to forget. Separately, most wall consoles and the myQ app have a lock or vacation mode that ignores every remote for security.
Try this: check the wall console for a lit lock indicator and check the myQ app. To re-engage the trolley, pull the release cord toward the door until the carriage clicks back onto the trolley, then run the opener once to confirm it catches. The release handle is required to be red and reachable at around 1.8 m (six feet), so if yours is missing or jammed, that is worth fixing on its own.
7. The opener itself has failed: board, capacitor or gear
What you see: humming with no movement, a click and nothing else, a door that works once and then dies, lights out on the housing, or the carriage moving with a grinding noise.
Why it happens: the logic board, a start capacitor, the drive gear or the travel module has failed. On openers past about a decade, one failure often follows another within a year or two.
Try this: confirm the outlet has power (a garage GFCI trips more often than people expect), then check the wall control and the safety sensors once more. After that, board and capacitor work is inside a 120-volt housing and is not a homeowner job.
Call us if: the opener hums, clicks or is dead with power confirmed. We repair what is repairable and tell you plainly when a a replacement opener or door is the cheaper answer over the next few years.
How to test the safety reverse in two minutes
Testing the safety reverse once a month is the single habit that catches a failing sensor before it strands your car. It is also what the entrapment standard is built around.
- Open the door with the wall control.
- Lay a length of 2x4 flat on the floor in the middle of the opening — about 38 mm (1.5 in) thick.
- Close the door. It must reverse on contact with the wood, not press down on it.
- Open the door again, then pass your leg through the sensor beam while it is closing. It must reverse immediately.
- Remove the wood. Listen for any new grinding, scraping or hesitation while the door travels.
If either test fails, stop using the opener until it is corrected. A door that will not reverse is the one failure mode in this list that can hurt someone.
What not to attempt yourself
Two separate dangers sit in this section, and they get mixed up. The first is entrapment: the US Consumer Product Safety Commission recorded 48 child entrapment deaths involving automatic garage doors between 1982 and 1992. That toll is what produced the reversal and photo-eye rules above. The second is stored energy: a torsion spring, an extension spring or the cables that run with them hold enough force to break bones or kill, and no standard has changed that. Springs still snap, and cables still whip.
Leave these alone: spring adjustment, spring replacement, cable replacement, drum work, and any attempt to bypass or disable the safety sensors. There is no version of "just this once" that is worth it. Everything else in this guide — cleaning a lens, clearing the beam, re-engaging the trolley, checking a lock button — is safe to check yourself.
What we see in Langley and the Lower Mainland
After more than a decade and a couple of thousand doors across Langley, Surrey and the rest of the Lower Mainland, the pattern is predictable. The calls arrive in the first cold snap of October and November, when stiff grease and contracted tracks turn a marginal door into one that will not close.
Late winter brings the sensor calls, once salt and grit have worked into the brackets. Spring failures ignore the weather and follow cycles instead, so they turn up in July as often as January. And the openers most likely to have a dead board rather than a sensor fault are the ones still running in 1990s townhouse complexes.
None of that changes the diagnosis order. Sensors first, then limits and force, then the mechanical side, then the opener.
When it is time to call
- The door reverses with clean, aligned sensors and a clear opening.
- It stops short of the floor and the limit adjustment does not hold.
- The door is crooked, binds, scrapes, or a cable looks slack.
- The opener hums, clicks or is dead with power confirmed.
- Anything involving springs, cables or a door that will not stay up.
If any of that sounds familiar, our residential garage door repair service covers sensors, limits, cables, rollers and springs, and we tell you before we start if the fix is not worth doing.
For a sense of what each of those costs, our Langley garage door repair cost guide breaks down labour and parts. If your door is making noise before it fails, the warning signs of a broken spring are worth five minutes of your time.
We are based in Langley and cover the whole Lower Mainland, from Langley and Surrey out to Coquitlam and the Fraser Valley. Residential service runs 9am to 6pm, commercial is 24/7, and every job starts with a free consultation and a price you approve before we touch anything.
Call 604-388-9868 or send us the details, and tell us what the door does and when it started. That one sentence usually tells us which of the seven it is before we arrive.
Sources and standards
- 16 CFR Part 1211 — Safety Standard for Automatic Residential Garage Door Operators (entrapment protection, two-second reversal, manual release requirements)
- DASMA Technical Data Sheet 382 — photoelectric sensor installation height
- UL Solutions — ANSI/CAN/UL 325, the binational standard applied in Canada
- US Consumer Product Safety Commission — garage door entrapment deaths, 1982–1992
- UL Standards & Engagement — how the two layers of entrapment protection work